How To Grow Artichokes From Seed – 4 Easy Steps To Follow
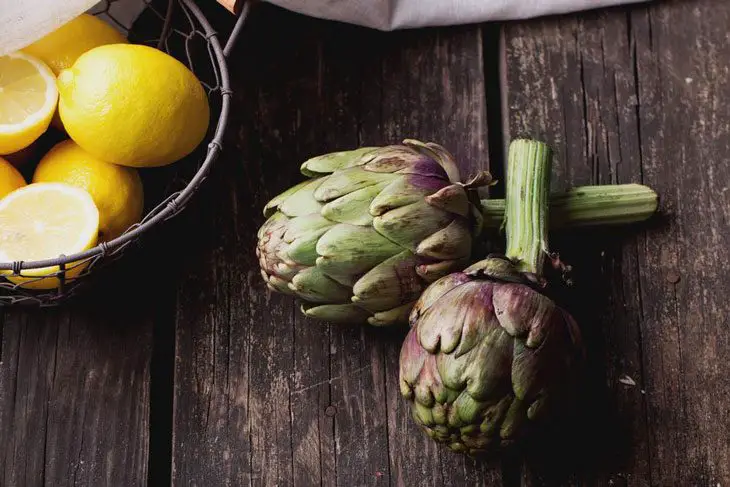
Artichokes are perennial thistles also known as cardoon in their natural form. Their botanical name is Cynara scolymus. They were first grown in the Mediterranean region. The largest artichoke industry is based in California. The peak season for the artichokes is between March and May. But you can grow them throughout the summer in your home garden.
More...
Healthy Benefits of Artichokes
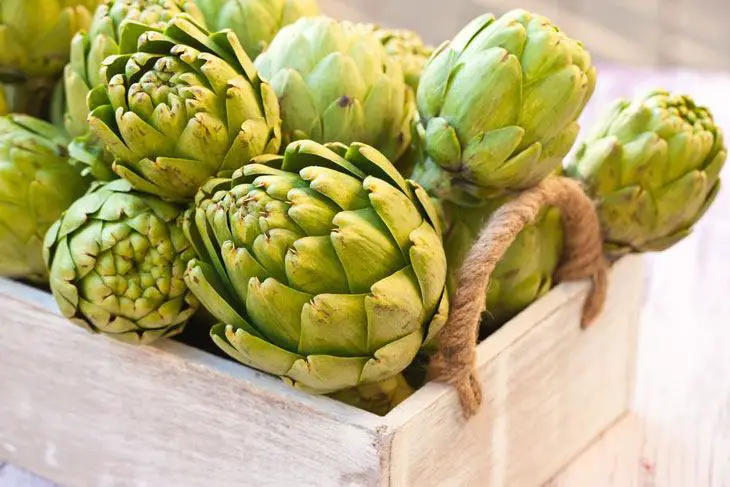
- They help in the prevention of cancer.
Artichokes contain essential phytonutrients and antioxidants. These include rutin, gallic acid, quercetin, and cynarin. Antioxidants have been said to slow cancerous cells from growing and spreading.
- They help in detoxification of the digestive system and the liver.
Artichokes contain cynarin, which stimulates the production of bile. It also has high-fiber content. This helps in the digestion and absorption of nutrients and reduces inflammation.
- They help in fighting cardiovascular disease.
Cynarin found in artichokes reduce the cholesterol levels and to improve blood flow.
- Helps with weight loss.
As earlier mentioned, Artichokes contain fiber content. This allows the body to detox itself of sugar, toxins, waste, and extra cholesterol.
- Improves the appearance and health of the skin.
Artichokes contain vitamins, minerals, and antioxidants. This prevents the skin from aging, drying and losing its texture.
- Good source of iron.
One cup of artichokes contains 10% of the required iron in the body. Iron prevents anemia symptoms associated with lack of iron. Some of them include a weak immune system, fatigue, poor concentration and digestive disorders.
So, How To Grow Artichokes From Seed?
PART 1: Considering the Season and Climate
Step 1: Identify your cultivating zone
The climatic condition usually determines the type of plants to grow. It also determines the methods of cultivation to use. For areas that experience consistent winter temperatures, you can plant artichokes annually.
Step 2: Choose the right type of artichoke
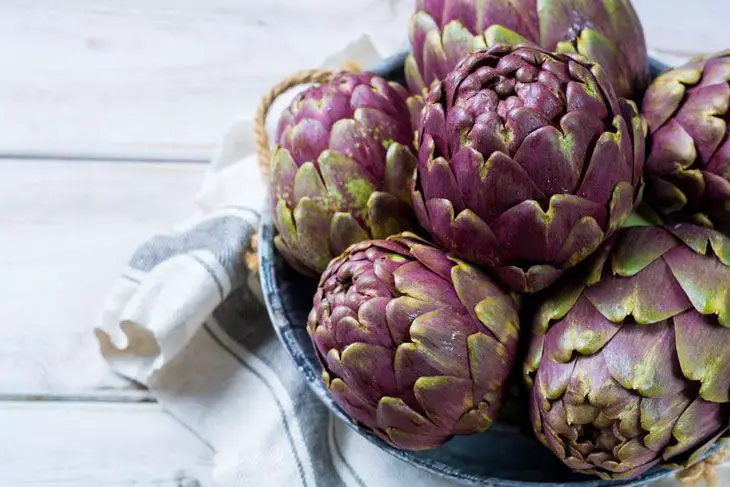
There are various types of artichokes classified as purple and green. Among the purple artichokes, there is “Opera,” which matures quickly. “Violetta” is spineless and hardy enough to withstand Northern temperatures. On the other hand, the green artichokes include the “Imperial Star”, an annual plant grown from seed. The “Green Globe” is known as a high-producing perennial.
Step 3: Ensure the soil is adequate
Growing artichokes requires rich, fertile and moist soil. Thus, ensure the type of soil you're using has proper drainage and is rich in nutrients. When you are tilling the ground, you can use a hand’s depth of compost manure. However, if you live in a zone with heavy rains, you can build raised beds to help in drainage.
Part 2: Starting your Artichokes
Step 1: Plant Artichokes seeds indoors.
Head start your seeds indoors to maximize the growing season. Plant each seed in 10.2cm (4-inch) containers. Then, place them in a heated greenhouse or under fluorescent lights. If left under normal indoor temperatures, the seeds can germinate in a week. This allows you to increase the size of the planter if needed. Expose the seedlings to outdoor conditions six weeks before transplanting.
Step 2: Move seedlings outdoors.
Transfer the artichoke seedlings outdoors before the predicted last frost date. Exposure to temperatures below 45 degrees helps to trigger flowering. They should also be as long your hand. 8-10 weeks old artichokes are healthy with two sets of leaves and stocky stems. However, if any of the seedlings are weak, you should get rid of it.
Step 3: Use transplants in cold climates.
Use artichokes transplants if you reside in areas with more days without frost. Grow your transplants indoors in the late winters or early spring. This allows you to harvest in the late summer or the early fall.
Purchase artichokes rooted shoots from an online plant distributor or a year-rounded greenhouse. This is the best way to set up transplants pretty fast. If you prefer to do it yourself, cut under ten inches tall offshoot growing from the base of the artichoke plant.
Step 4: Plant artichokes seedlings at least 0.9m (3 feet) apart
If you have enough space, you can plant the artichokes between 0.9m (3 feet) - 1.8 m (6 feet). This is because they have large and aggressive roots that need adequate room for growth. For raised beds, plant the artichokes with the crown of the root thrusting out of the soil. This gives the leaves ample space to spread out.
Part 3: Fertilizing and Watering
Step 1: Fertilize the soil before planting
Use the right fertilizer to condition the soil. This ensures the seedlings absorbs them as soon as they are planted. Ensure that each plant gets at least one shovel of compost manure. You can also apply high-nitrogen fertilizer. Also, you can add bone, feather, or blood meals to the soil for more nutrients.
Step 2: Fertilize your plants as they grow
Artichoke plants rely heavily on a high-nitrogen diet to grow fully. Add high-nitrogen fertilizer to every artichoke after a month of planting. Repeat the procedure after every four weeks. You are required to place the fertilizer beside the stalk of the plant and irrigate to soak it into the soil.
Then, side-dress all plants with 0.5-1 kg (1-2 lbs.) of mature compost manure before the anticipated budding period.
Step 3: Water your artichokes
Your plants need 4-5cm (1-1 ½ inches) of water each week. If there is rain, ensure they are getting enough water. During the spring and the summer seasons, keep the plants well watered. This encourages thicker and larger buds. Also, ensure that the soil can drain excess water. However, if the soil becomes water-logged, you can consider replanting the plant(s) in a raised bed.
Part 4: Harvesting and Propagating Artichoke Plants
Step 1: Harvest the flower buds
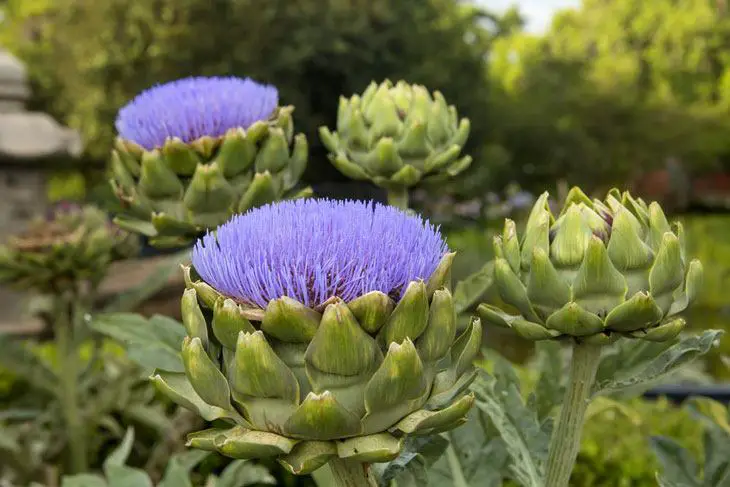
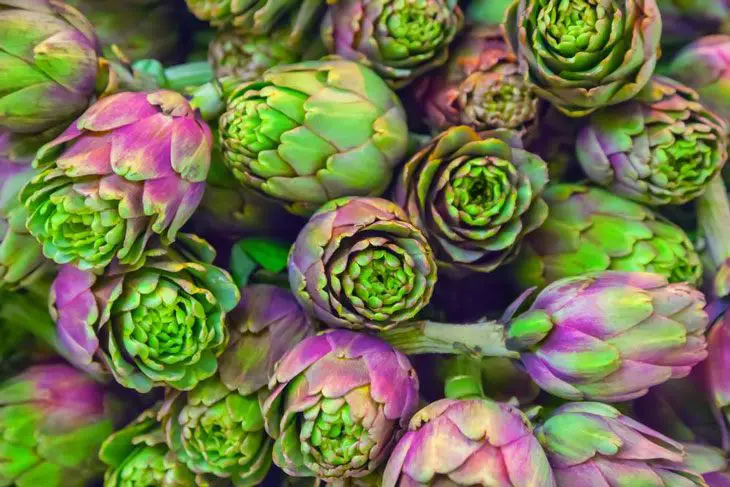
During mid-to-late-summer, look for erect flowering stems topped with flower buds. Most stalks produce 3-5 buds. Cut off the lowest scales (bracts) when the bud starts to open using a sharp knife. Ensure that you leave a piece of stem the size of a credit card.
Related post: When to harvest Artichokes
Step 2: Prepare perennials for survival
If you are planting perennial artichokes, ensure that they survive the winter season. For instance, cut the leaves after it has flowered and the season has ended. Also, you should mulch heavily above and around the plant to ensure the roots are healthy and alive. Also, use a hand’s depth of mulch including straw around and above the plant to keep the roots insulated.
Perennials are known to stay productive for approximately four years. You can also splice artichokes portions separately for more years of productivity.
Common Artichoke Diseases and Pests
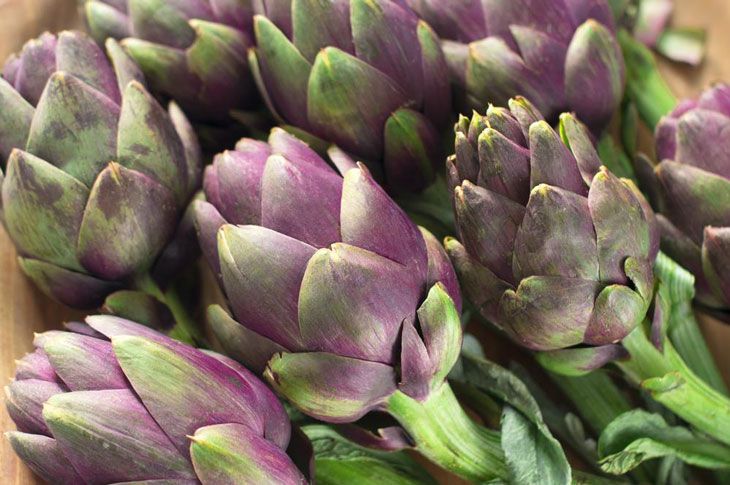
Artichokes are prone to black bean aphids. They usually attack the stems and leaves, suck sap, distort growth, and weaken the plants. The best thing is that you can control the aphids using insecticides. Petal blight is also common in artichokes, mostly during the wet seasons. The disease turns the flower heads to brown, then shrinks and develops a mold. There are no chemicals to control the petal blight. But, you can remove the infected heads, and do not plant the artichokes on shady sites.
In conclusion
With the above steps in mind, we hope you can successfully grow Artichokes from seeds. Harvest your artichokes once the flower buds form and start to open. Have you ever tried to grow artichokes in your garden? How was the experience and did you have a bountiful harvest? Let us know in the comments
Did you find this article helpful? Please share with us your thoughts through the Comment section. You may also like to share this article with your friends.

